Pages

Sunday, July 13, 2014

Holiday Card Workshop Online Class

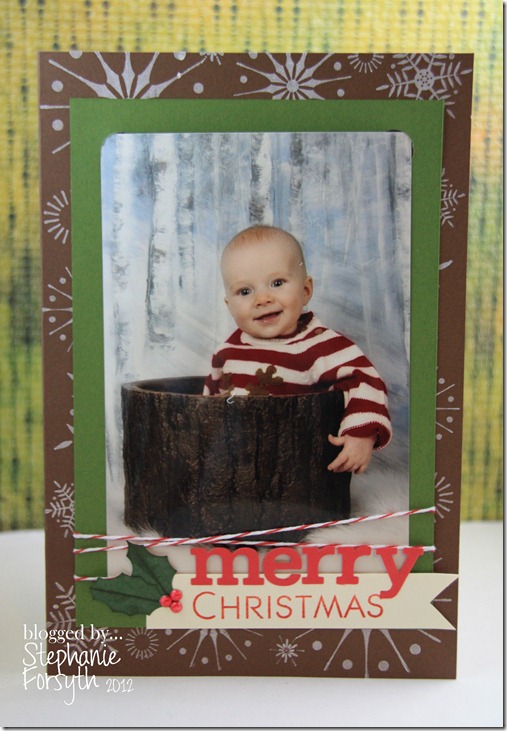
I’m going through crafting withdrawal.  And I’m suffering.  So, I signed up for Holiday Card Workshop and I’m happy again.  I didn’t get very far with my Kickstart Class (as you could  see), only 1 day’s worth of homework completed :(  and I probably won’t get much accomplished in this class either, but I enjoy learning new things.  Before class begins, I wanted to (re) share my Christmas card from last year:
Christmas Card 2011
I posted a few more of the specifics for this card here.  Hopefully I get a few different ideas for this year’s card from the class, although I already do have some ideas in my head.  So, we shall see where this takes me.  Thanks for stopping in!  Have a great day!
Steph

Clean and Simple 2–Part 2

Hello again!  Today in Southern Ontario we are digging out from a snowstorm that brought us enough snow that yesterday was a SNOW DAY!!!  We ended up with a good amount of snow – probably close to the 30cm they were calling for, with lots of blowing snow drifts that piled up to a lot higher.  Since we had a snow day yesterday, I spent lots of time in the morning cuddling, following, and playing with my little man. However, during his nap time mama got to get a little crafty!  I managed to make a card for days 6, 7, and 8 of Clean and Simple 2.  Here they are:
Oh, but before I go any further, I have no affiliation with Paper Smooches stamps!  I began to notice as I was creating all of the cards for CAS2, that I kept reaching for the PS stamp sets.  Not sure why, but I just love them!  Now, carry on…
Day 6: More Sketches
Day 6
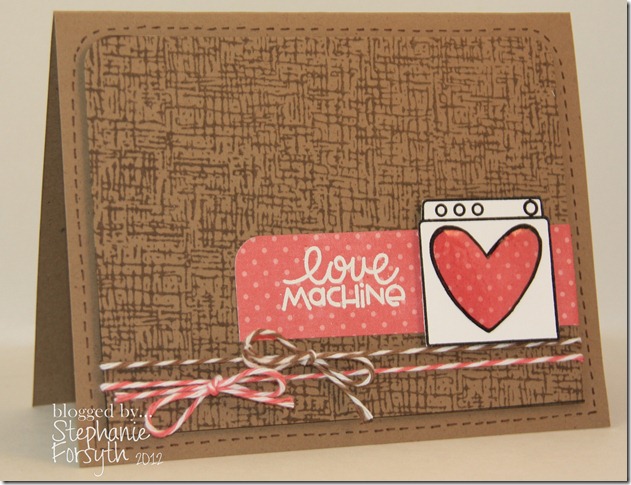
For this card, I used the same sketch Kristina Werner used in her example.  I incorporated an image and sentiment from Paper Smooches “Squeaky Clean” stamp set.  The background was stamped with the Hero Arts envelope liner stamp in Hero Arts “Cup-o-Joe” ink.  I also tied on some Twinery twine in Strawberry and Cappuccino.

Day 7: More One Layer Cards
Day 7
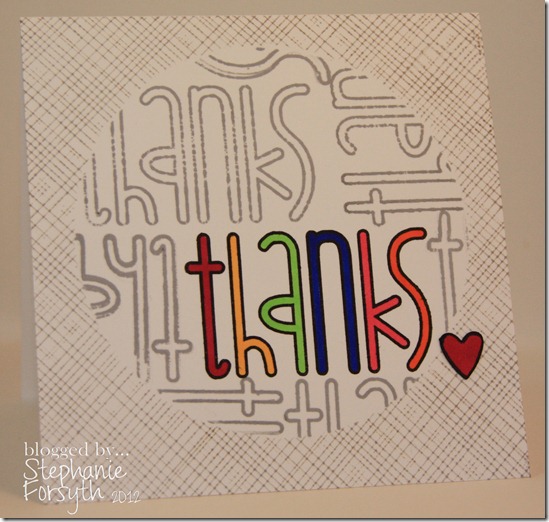
This card’s dimensions are 4 1/4X 4 1/4.   First I created a mask using a large post-it note and a circle die.  Then I used the negative space as a mask for the sentiment.  I stamped the “thanks” in Versafine onyx first, then several more times using Hero Arts “Soft Granite” shadow ink before going back and colouring the original one with copic markers.  When I removed the mask, I liked it, but it wasn’t quite complete.  So I put the positive piece down and stamped the Hero Arts “Envelope Pattern” stamp in the Soft Granite ink.  Yet.. it still needed a little something.  Finally, I punched out a heart, coloured it with a copic, outlined it, and glued it on.  I really do like the final product and using a technique that I hadn’t used before. 

Day 8: More Inking and Stamping Techniques
day 8
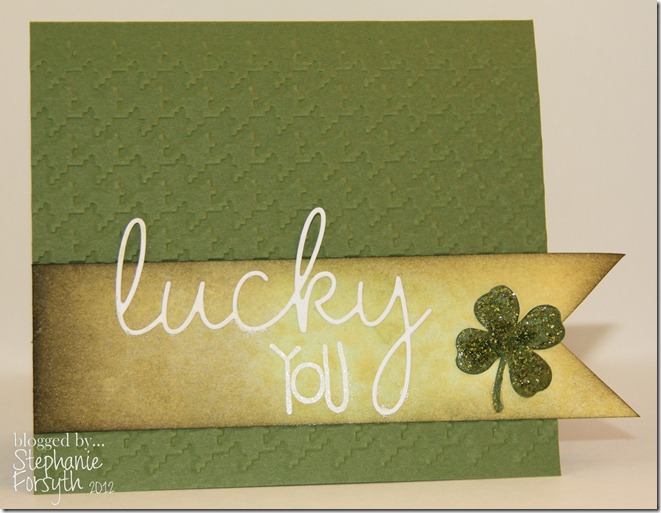
I am always perusing Pinterest for cool ideas for my classroom and lately I’ve been noticing a lot of people posting “salted watercolour” pictures.  I love the sounds of it, but never really thought of applying it to card making until I saw Kristina Werner using it.  I decided to try it out myself, using a variety of green distress inks.  I’m not sure if it’s just because of the colours I chose, but it wasn’t that effective (you can see it more in real life).  I will definitely try it again with more colours to see if the salt has a greater effect.  The “lucky” is die cut from a Papertrey Ink die, and the “you” is a Paper Smooches stamp, stamped in Versamark, and white embossed.  I used a Martha Stewart punch for the clover, coloured it with a Distress Marker and covered it with the same colour of Distress Stickles (I believe it’s Peeled Paint").  The embossing folder I used is from Cuttlebug.

Thank you so much for stopping by!  I’m hoping I can get in a few minutes of crafty time this afternoon to make cards for Days 9 and 10.

See you soon,
Steph
Friday, February 8, 2013

Clean and Simple 2

Hello! 

Once again, my posts as of late have been few and far between.  I haven’t had much crafty time since the holidays because I’ve been so busy with work.  Last week, however, I spent the week at home on bedrest.  Finally near the end of the week, I was feeling better so I spent some time up in my craft room.  I created a card for days 1-5 of Clean and Simple 2 card class.  Without further ado, here they are:

Day 1: Craftsmanship of Clean and Simple Cards

Day 1

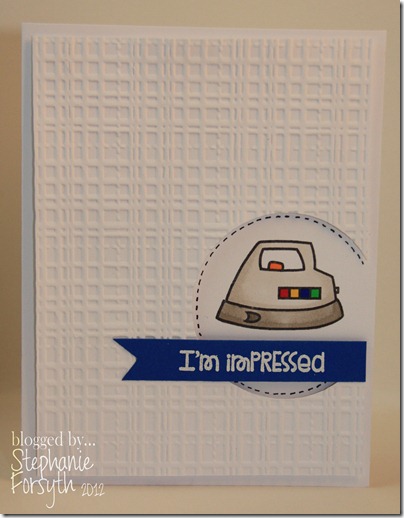
For this card, I broke out my Paper Smooches “Squeaky Clean” stamp set.  I stamped the image with Memento Tuxedo black and coloured the image with copics.  The sentiment was stamped with Versamark and white heat embossed.  I embossed the top layer with a plaid embossing folder and popped it up on dimensional adhesive.  The stitch marks were drawn on with a Memento marker. 


Day 2: One Layer Cards

Day 2

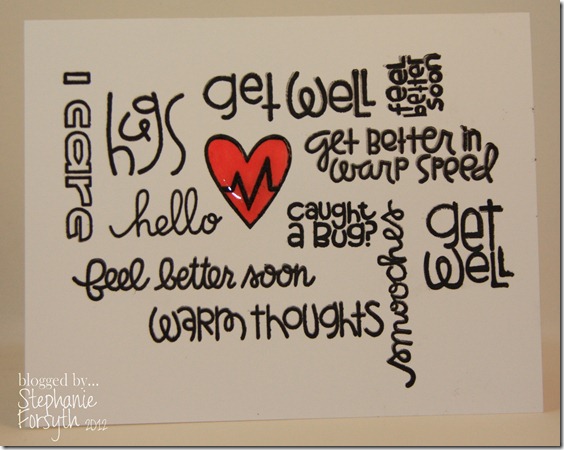
This card was inspired by a card Jennifer McGuire had done.  I put all of the sentiments, from various Paper Smooches sets, onto my Fiskars stamp press, and stamped it on white Neenah paper with Versafine ink.  The heart was coloured with a copic marker (R22), and gussied up with some Glossy Accents.


Day 3: Inking and Stamping Techniques

Day 3

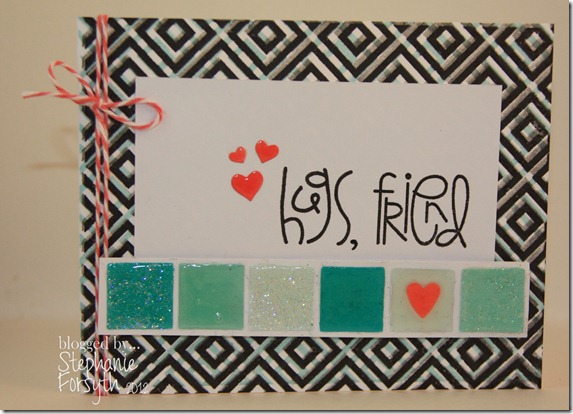
For this card, I chose to do some offset stamping with 3 different colours.  The black is Versafine Onyx, the blue is Hero Arts Pool Shadow Ink, and the grey is Hero Arts Soft Granite Shadow Ink.  The bar of “tiles” at the bottom was inspired by a Kristina Werner card made in a previous card class (Kick Start).  I chose to break up the heavy geometric background with the white panel, and chose to balance the heart at the bottom with the 3 small hearts.  The sentiment is from Paper Smooches.


Day 4: Plainly White

Day 4

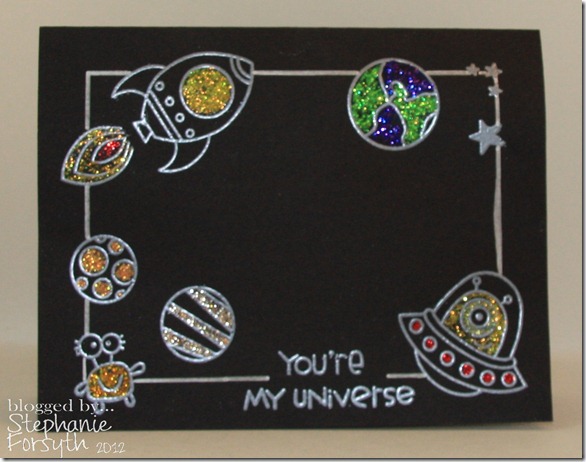
…or black.  This card is inspired by Kristina Werner’s card for day 4.  I used the Paper Smooches “Space Cadet” stamp set, stamped in Versamark and embossed with silver.  I then used a variety of stickles to “colour” in the images.  It was so difficulty to get a crisp photo of this card!  The camera had a lot of trouble focusing because of all the glitter.  Too bad the glitter doesn’t completely translate in the photo, it’s super.


Day 5: One Stamp, Three Ways

Day 5

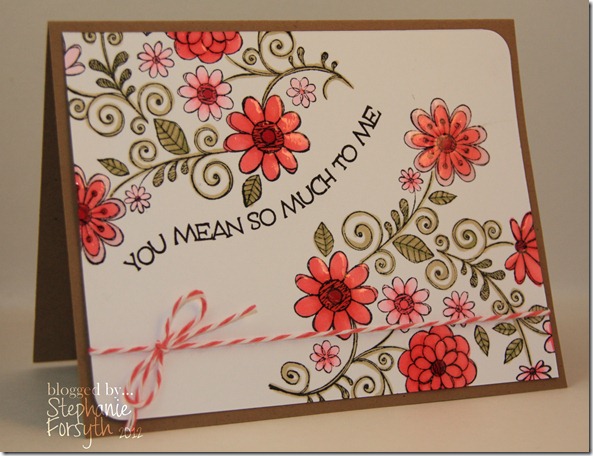
For this card, I used a Hero Arts image and sentiment.  The image was coloured with copics and the large flowers were glossed up with Glossy Accents.  The twine is Twinery’s Strawberry baker’s twine.

Phew!  That was a lot!  Thanks for stopping by, and sticking it out to the end!

Steph

Sunday, September 23, 2012

Kick Start Day 1

I think the latest Online Card Class, called Kick Start, couldn’t have come at a better time.  Not being home during the day anymore, and having limited time to craft, I’ve sorta lost a bit of my mojo.  Kick Start is a class that is focused on getting the creativity going, and different ways of finding inspiration.

Day 1’s focus was all about Organizing Ideas.  I am not an organizer of my ideas.  I love to organize everything else around me – my fellow coworkers are always saying how organized I am… although, funny enough, my husband and mother would beg to differ.  Still, never have I been one to write things down.  Instead, I choose the much less effective method of “oh, I’ll have to remember that” – and I never do.  Funny how that works.  So, in the interest of “organizing my ideas”, I created a card sketch book:

Card Sketch Book

Isn’t it pretty.  I made it following Kristina Werner’s instructions here.  I even used it to sketch out the following card:

Day 1

Yay me!  (sidenote: this isn’t an original sketch, it’s based off of one from a previous Online Card Class – Clean and Simple Cardmaking).  Nonetheless, there is a sketch! 

This card was created using Paper Smooches “Healthy Vibes” stamp set and some twinery twine (which I coloured with an E53 copic to tone down the white).  I coloured the band aids with copics (E53, 55, and R22).  The sentiment was stamped with versamark and white heat embossed. 

There we go!  Day 1 homework done.  Off to work on day 2 now!

Until next time!

Steph

Saturday, September 22, 2012

Ah, to blog again!

Phew!  That was a crazy few weeks!  Becoming a working mom was quite an adjustment.  I finally feel as though I am getting my head slightly above water.  I have definitely gained a whole new appreciation for all my mom did for my brother and I – working all day, getting groceries or running other errands, picking us up, and getting dinner on the table for when my dad walked in the door.  Of course, with wanting to spend as much time as I can with the little man, and having to plan all of my lessons for school, cook, and clean up at the end of the day, I haven’t had any time for crafting – which is sad, but ok.  I was fortunate enough though to get a few minutes in the old cabana last weekend to make a card for my brother-in-law’s 30th birthday.  This year was the year that he finally got older than my hubby and I.  See, we stopped having birthdays at 29.  :)

For this card, I reworked the case I did of a Kristina Werner card.  My first version is found here, and this is my second version:

Gord's 30th

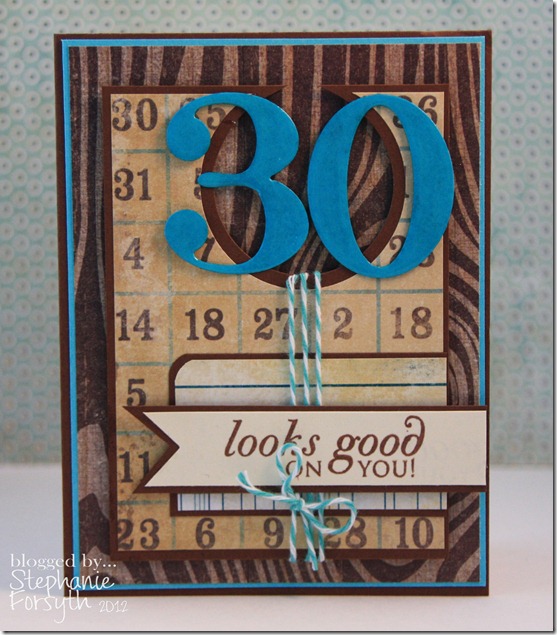
The papers are all from a Recollections stack, and the dies and stamps used are from Papertrey ink.  I embossed the 30 with ultra thick embossing enamel and popped it up with some dimensional adhesive.  I used some Twinery twine (in real life, the twine colour and the cardstock colour for the 30 are much closer).

Well that’s all for now.  I will definitely pop back in tomorrow to share with you a card I made for the first lesson in the new Online Card Class called Kick Start.

Thanks for stopping in!

Tuesday, September 4, 2012

One Pad, Four More Cards

Greetings everyone, and happy Labour Day!

I’ve been loving DCWV’s “Hittin’ the Books” paper pad lately, already having made 2 cards, so I decided to put it to more use and created 4 more cards from it. I plan on giving these cards to some fellow coworkers to begin the year.

Card 1

DCWV Hittin' The Books 2_thumb[1]_thumb

One of the papers had all of these squares and rectangles that I just chopped up and glued onto kraft cardstock. Simple!

Card 2

DCWV Hittin' The Books 3_thumb[1]_thumb

For this one, I used one of the rectangles with the “back to school” message on it, mounted it on a piece of turquoise patterned paper, and used an EK Success slot punch to punch the slot for the ribbon to run through.

Card 3

DCWV Hittin' The Books 4_thumb[1]_thumb

More squares and rectangles Smile

Card 4

DCWV Hittin' The Books 5_thumb[1]_thumb

And again…

Well, I’m off to enjoy my last day of vacation with my little man. Back to work tomorrow.

Have a great day!

Steph

Sunday, September 2, 2012

The Long Weekend

Hello all!  What a gorgeous long weekend we’ve been having here in Southern Ontario!  This weekend is the weekend for “Canada’s Largest” Ribfest, and instead of heading down to the lake in Burlington to stand in huge crowds and spend a lot of money on overpriced ribs, our friends group decided to hold our own.  We’ve done this for the past couple of years already, and it’s been a great time.  This year was no exception.  Each couple brings a rack of ribs done up in their own special sauce, and we all sample the offerings and vote on our favourite.  We have yet to win the event, but have had a great time eating those ribs.  I am feeling like I need a good workout today though. 

Anyway, I thought I’d share another Kraftin’ Kimmie challenge card for this week’s challenge which is to use kraft cardstock in the “kreation”. 

Challenge 144

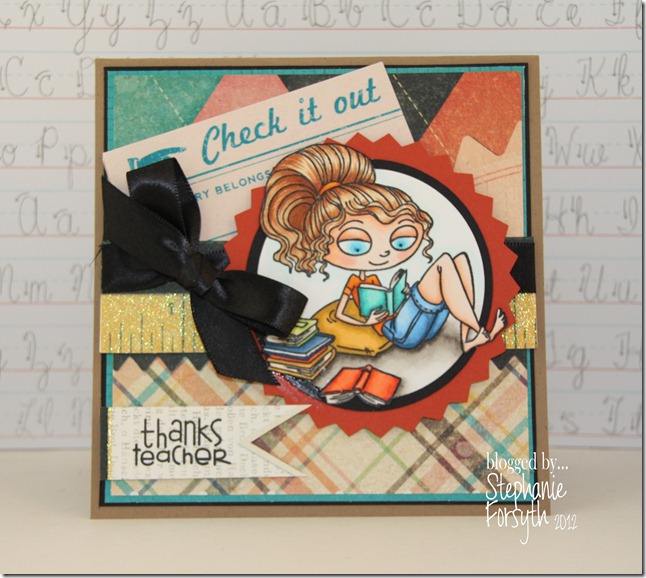
Once again, I used DCWV’s “Hittin’ the Books” paper pad, which I believe is from last year.  I paired it with Kraftin’ Kimmie’s lovely Lucy who is currently enjoying re-reading Harry Potter and the Half Blooded Prince… : )  She was stamped onto Neenah cardstock with memento ink and coloured in with copics.  The sentiment is from Paper Smooches. 

Well, thanks so much for stopping by.  Hope you are enjoying your weekend wherever you are!

Steph