Pages

Wednesday, July 6, 2011

Thank You Cards Part 2

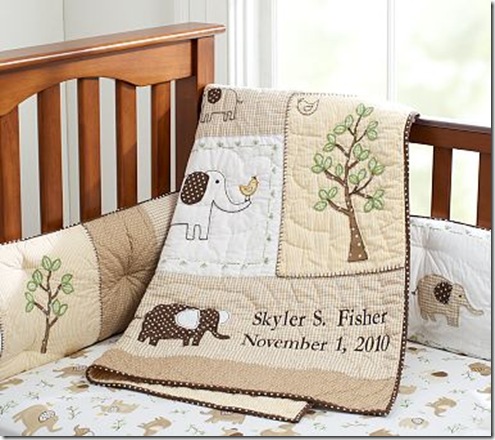
Here’s one last set of Thank You cards that I made for baby gifts.  I decided that I should get a head start on them before the baby came, since I probably wouldn’t have time afterwards.  The problem though, is that we are not finding out the sex until the baby is born.  Therefore, I had to be a little creative in my colour scheme.  What I decided to do was to just simply use the colours of the nursery.  We painted the nursery the colour of Stampin’ Up’s “Certainly Celery” cardstock.  I simply took a piece of the cardstock to Home Depot and they matched it perfectly!  I even held the cardstock up to the wall once it was painted and it’s incredible how perfectly they match!  The bedding is from Pottery Barn:

img68m

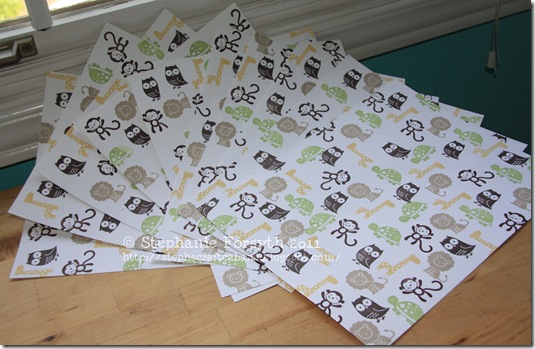
and has some yellow, brown, and khaki in it, so I compared the colours to Stampin’ Up cardstock and matched it to So Saffron, Early Espresso, Chocolate Chip, and Crumb Cake.  I then took my Fox and Friends stamp set – the first stamp set I bought from Stampin’ Up, and one of my absolute favourites, and I made this “decorative paper” using the above mentioned colours:

Fox and Friends

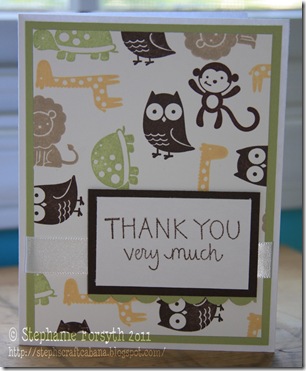
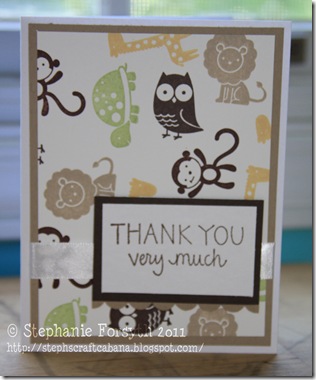
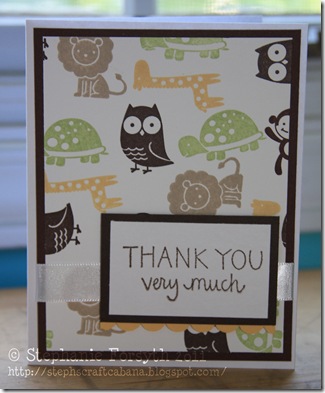
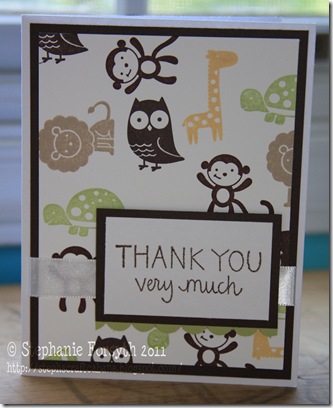
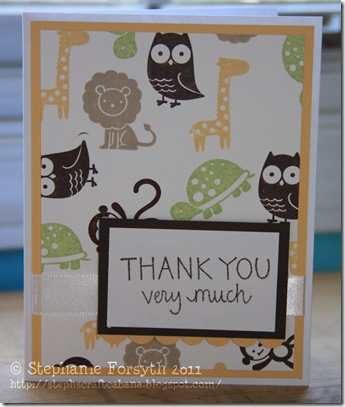
Next, I chopped it all up – into 5” x 3 3/4” pieces.  I also cut up the Certainly Celery, So Saffron, Early Espresso, Chocolate Chip, and Crumb Cake cardstock to 5 1/4” x 4”.  Layered the decorative paper on top of the plain cardstock, and adhered it all together.  Here’s a look at the final pieces:

Fox and Friends Thank You Certainly Celery

Fox and Friends Thank You Crumb Cake

Fox and Friends Thank You Chocolate Chip

Fox and Friends Thank You Early Espresso

Fox and Friends Thank You So Saffron

The sentiment is from a stamp I bought in the $1.50 section at Michaels, it’s adhered to a piece of Early Espresso cardstock.  I used some scraps to create the little scallop under the sentiment, popped that piece up over top of a piece of ribbon.  

The most time consuming and tedious part of creating these cards was stamping the images onto the whisper white cardstock – it took a long time!  Once that was over, everything else was easy to whip up.  I mass produced about 64 of them.  I’m not saying I’ll have to send out that many, I just wanted to make sure I had enough cards on hand that I won’t have to make any more of them!

Well that’s it for now, thanks for stopping by to have a look!

Steph
Tuesday, July 5, 2011

Thank You Cards

I knew way back that I would be having a baby shower before giving birth, and I also figured some of my students would be giving me gifts for the baby as well.  So, I decided while I still had time, to make a bunch of thank you cards for any baby gifts I received before hand. 

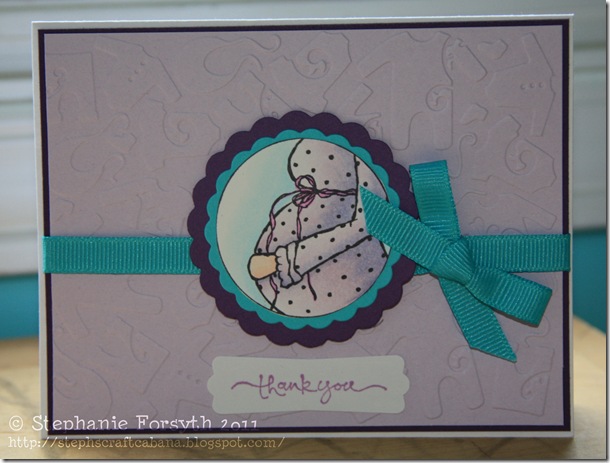
Thank Yous

I used the same colours to colour the Stamping Bella image, “Preggo Circle” as Elaine Hughes did here.   I paired it with some light purple cardstock that I ran through my Cuttlebug in a Cuttlebug baby-themed embossing folder.  The sentiment is from Stampin’ Up’s “Short and Sweet” set; I cut it out with their Modern Label punch.  The ribbon is some grosgrain I picked up at Wal Mart.  The two scallop circles were cut with my Life Style Crafts dies. 

Luckily, Canada Post is up and running again, so I was able to pop these into the mailbox early last week.  They should be hitting their destinations sometime early this week. 

Thank YOU for stopping by!  Have a great Tuesday!

Steph

Monday, July 4, 2011

Nesting?

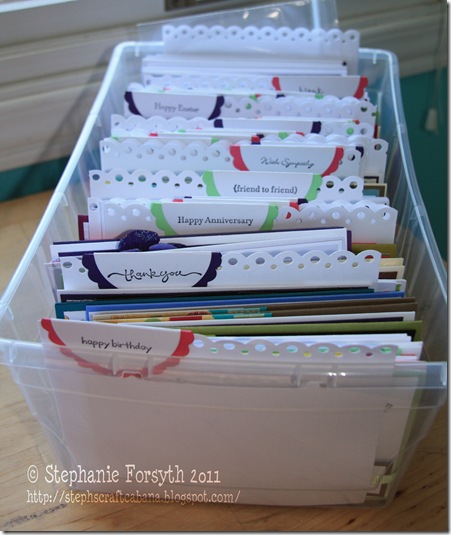
As this post goes up, I’m hopefully at the hospital, well on my way to delivering the little bundle of joy I’ve been “cooking” for the last 9+ months :)  I took some time yesterday to organize my card collection.  They had all been thrown into this plastic box with no rhyme or reason, which was not the best method for figuring out which types of cards I have, and which type I need to make more of.  So, I came up with this way of organizing:

Organizing

I used my Life Style Crafts circle and scallop dies to make the tabs, which I then scored and folded in half.  The white cardstock was cut at 5 1/2” by 5 1/4”.  I then ran the paper through a Martha Stewart punch along the 5 1/2” length.  The scallop and plain circle were then folded over the top of the white cardstock and stamped with the heading for that section.  I used all Stampin’ Up Stamps for the labelling – mostly from the “Teeny Tiny Wishes” set, but a couple are from their “Short and Sweet” set.  

I’m liking my new system – now I know what kinds of cards I have and they are all within easy reach. 

Thanks for checking in!  Hope you have a good start to your week!

Sunday, July 3, 2011

Card Class – Week 1… part 2

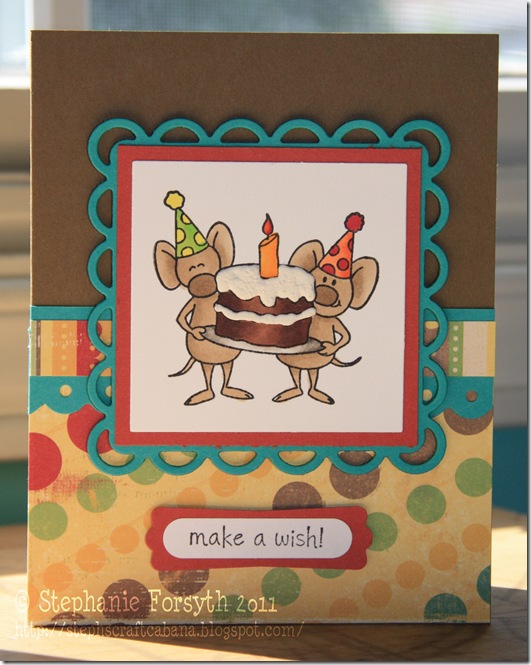
On Friday, Jennifer and Kristina added 6 more colour combinations to inspire us in our card making.  I used the fourth combination on this card here:
Card Class 2011 Week 1 b
The image is Birthday Friends from Kraftin’ Kimmie – I’ve used it a lot lately!  I coloured it with Copics, and used some Liquid Applique for the icing – I highly recommend that if you are using Liquid Applique, you let it fully dry before taking the heat gun to it.  This allows for a much smoother puffed look.
The cardstock used is all SU – Soft Suede, Bermuda Bay, and Regal Rose (which is a retired colour).  The paper is from a K&Company stack. 
This is my last post for today :)  Happy Sunday everyone!
Steph

Card Class – Week 1

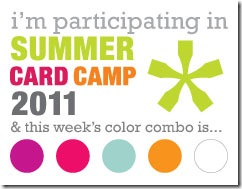
week1-colors
This year, since I didn’t think I’d have enough to do over the next month, I decided to sign up for Jennifer McGuire and Kristina Werner’s Summer Card Camp.  This week, we had an awesome colour combination and lots of inspiring samples to get the creative juices flowing.  I love the work of both of these ladies and decided that even though I might not have that much time to create over the next little while, I’m always up for learning new techniques and filing them away for later.
Here is what I came up with for this week’s challenge:
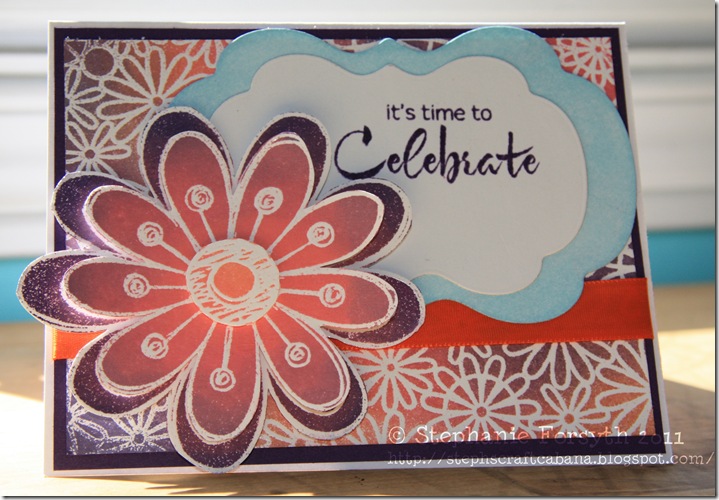
Card Class 2011 Week 1
All of the stamps I used are Hero Arts.  I stamped everything in Stampin’ Up’s Whisper White Craft ink and clear embossed.  I used Crushed Concord, Worn Lipstick, and Spiced Marmalade Distress Inks for the background and the larger flower on the front.  All I did was sponge them on with some makeup sponges.  The sentiment is Hero Arts and is stamped in Crushed Concord.  I embossed it too.  I used Nestabilities Dies for the sentiment panels, and the background one was sponged with Broken China distress ink.  The ribbon is from my stash. 
I must admit, I wasn’t sure what I wanted to do when I saw the colour combination, but I’m happy with what I came up with.  I really love the technique of embossing, then sponging with distress inks.  You can come up with some amazing colour combinations and looks with these inks. 
Thank you for stopping by!  I’m going to relax and enjoy my potential last day of non-parenthood!  I’m being induced tomorrow, and if all goes well, there should be a baby sometime over the course of the day tomorrow!  So excited!
Steph