Pages

Friday, April 22, 2011

Hippity, Hoppity, Eater’s on Its Way!

Hello!  I am nicely settled in to a quiet Good Friday morning.  This week has been a hectic one at school, being both Holy Week and a short week.  Next week will be busy too, we are preparing for First Communion next weekend and it’s another short week!  Oh well.

So, cute story.  I am a first aid provider at school, and during recesses I have to stick around the office to fix up any cuts and scrapes, hand out ice for head injuries, etc… Well yesterday during last recess, I had to put the bunny boxes I made for my students out on their desks.  I had just finished up when I got called down to the office for first aid.  Well, the bell rang for the kids to come in, and I was stuck with 3 or 4 head bumps in the office.  By the time I got back to class, the kids had been in for a few minutes (I’m very fortunate that the teacher next door keeps an eye on them while I’m at the office).  Still, I half expected my students to be into their treats and find jelly beans all over the floor.  My suspicions were not at all relieved when I walked down the hall and saw the “lookout” at the door, turn and run into the class.  But man, oh man, was I ever impressed with them when I got to the door and they all came out from under their desks and called out “Happy Easter!”  It was the cutest surprise ever!  Man, I love my class. 

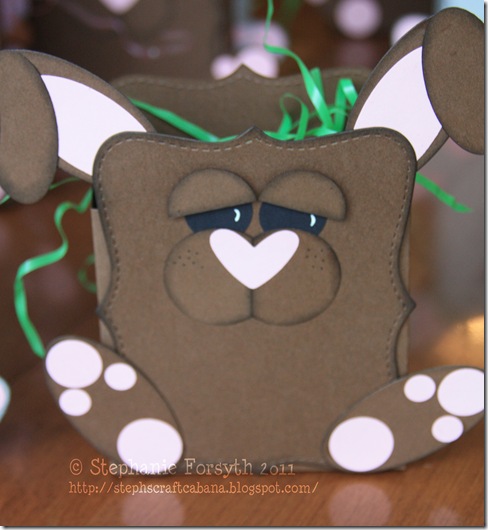
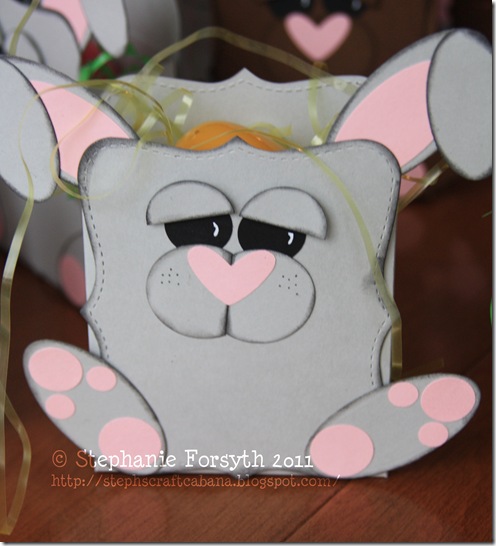
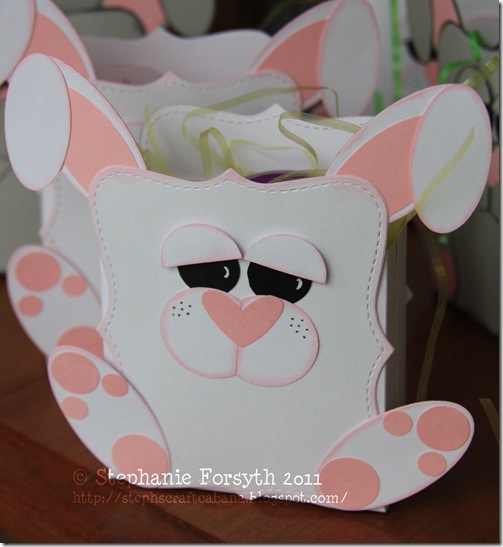
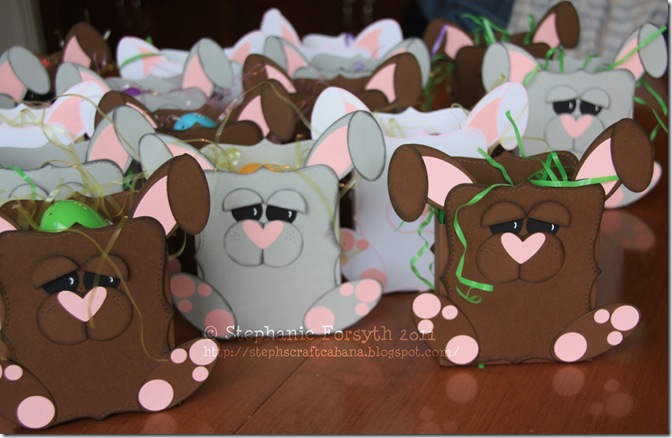
Anyways, this was the surprise that awaited them on their desks:

Bunnies On Parade

I got the recipe for these cuties from this link here.  I used basically the same sizes of circles, however I don’t own the Stampin’ Up “Wide Oval” punch, so I substituted with the smallest oval in the large oval nestability set.  Some of my circle sizes are a bit different too, I just used what I had. 

For the box itself, I used an 8 1/2 x 5 1/2 sheet of paper but scored it at the same dimensions as Tammy did in her original found here

Inside each bunny, I stuffed some Easter grass, and a plastic egg with 8 jelly beans in them.  I included one of each colour and the following prayer:

Jelly Bean Prayer

Red is for the blood He gave.

Green is for the grass He made.

Yellow is for the sun so bright.

Orange is for the edge of night.

Black is for the sins we made.

White is for the grace He gave.

Purple is for His hour of sorrow.

Pink is for our new tomorrow!

An egg full of jelly beans, colourful and sweet,

Is a prayer, is a promise, is a very special treat!

I have no idea where I got the original version of this poem from, I think it was handed to me by another teacher at some point over the years. 

Needless to say, the kids loved their bunny boxes, I just hope they all survived the trip home!

Here is a close up of each colour:

Bunny Brown

Bunny Grey

Bunny White

Thank you for stopping by, I hope you have a Happy and Blessed Easter!

Steph
Sunday, April 10, 2011

Happy Sunday

It seems as though the weather is FINALLY starting to warm up in this neck of the woods.  My hubby and I spent yesterday morning outside, cleaning up after Dexter (we have not been picking up after him all winter, so the backyard was a BIG mess), raking, dethatching, raking, and finally fertilizing our yard.  I even got the flower beds raked out, so I am quite pleased about that.  A lot of the perennials are starting to poke their little heads out of the soil, and the tulips are getting bigger. I even noticed my hydrangeas are coming back to life.  After such a busy Saturday, we look forward to a bit more of a relaxed Sunday.  There’s a few things I need to do around the house, but otherwise it should be nice and quiet.

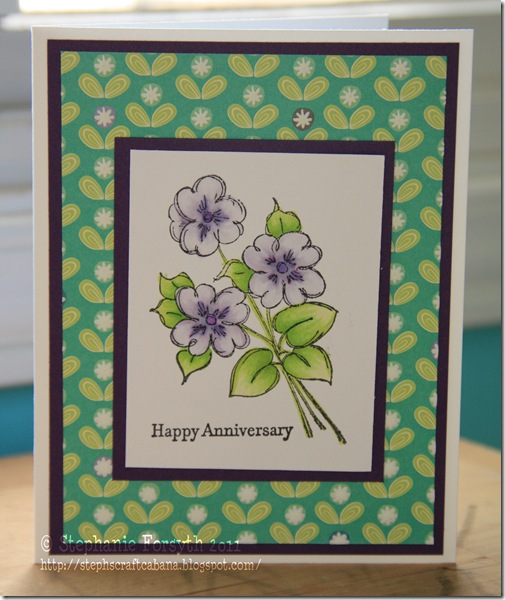
This card I’m going to show you today, is yet another one made with K&Company’s “Poppy Seed” pad of paper, and the same image from Friday’s post.  I love that I can do so much with one pad and the same stamp.  I just changed up the sentiment.

Happy Anniversary

This piece of designer paper is so cool because the flowers are raised and textured.  I coloured the flower image with the same colours as mentioned in Friday’s post.  The sentiment here comes from Stampin’ Up’s “Teeny Tiny Wishes” set. 

Well, thanks for stopping by.  I hope to get into the craft cabana at some point today to do a bit of crafting.  We’ll see though.

Have a great day!

Steph

Friday, April 8, 2011

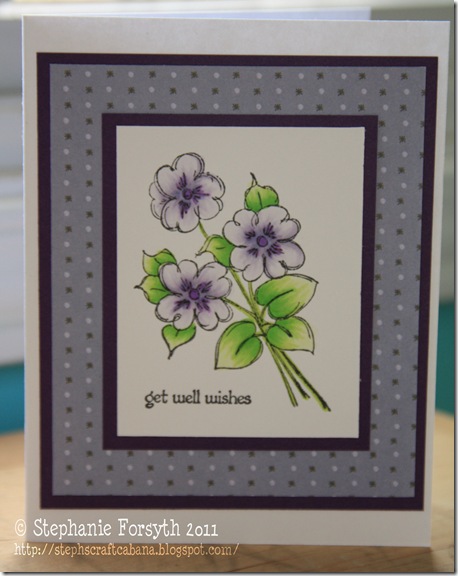
Simple Get Well Soon Card

Good morning!  Not often do I have the opportunity to post on a weekday morning!  I’m sitting here on the couch, sipping my delicious peach, banana, mango smoothie, watching CH Morning Live, and have finished reading all of my google reader subscriptions for the day.  Today is a PD day, so I don’t have to prepare anything for my class, therefore I figured, why not post on my blog?!? 

This is a simple card that was also created with the Poppy Seed paper collection by K&Company. 

Get Well Wishes   

The flower image is from Kaiser Craft – my local scrapbook store had a bunch of mini sets by them up by the cash for only a few bucks.  I coloured it with my copics: BV0000, BV000, BV0, BV02, V04, YG0000, YG03, YG05.  The sentiment is from Stampin’ Up’s Teeny Tiny Wishes – a set I wanted for a while, but didn’t want to spend almost $50 on.  I finally bought it when I held my Stampin’ Up party and man, had I known how much I would use the set, I would have bought it sooner!  It’s a great set with a sentiment for practically everything.  I mounted both the image and the designer paper layers on a dark purple cardstock from Michaels.  I don’t know about you, but I like using the cheaper cardstock for layers because you only see such a small amount of it. 

Well, I better get moving around here.  I have some staff meetings to attend!  Have a great day!

Steph

Sunday, April 3, 2011

Simple Set Part 2

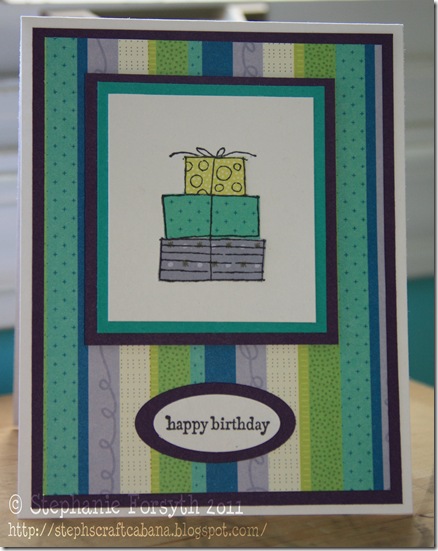
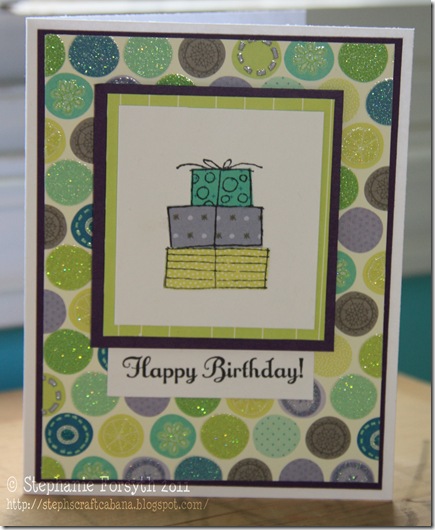
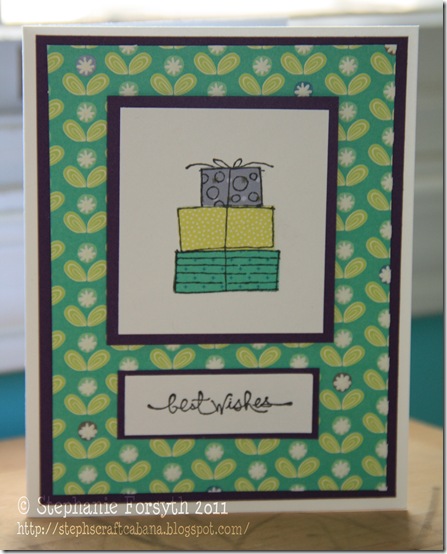
I spent some time up in my craft room yesterday creating more simple cards with the K&Comapny “Poppy Seed” 12x12 designer paper pad.  I love this pad!  Like I said yesterday, the colours are so pretty, especially for spring!  Here are three more cards I made in this set:

Poppy Parade Happy Birthday

Poppy Parade Happy Birthday 2

Poppy Parade Happy Birthday 3

So I stamped the present image on three different patterned papers, and cut each part out.  Then I mixed and matched at was able to make 3 different piles of presents.  I combined each with a different pieces of patterned paper and viola!  All stamps used are Stampin’ Up, although I know the gift stamp was in a set from last year’s Saleabration, so it is retired. 

Thanks for stopping by, and I hope you had a great weekend!

Steph

Saturday, April 2, 2011

Simple Set Part 1

Hello all!  It’s been a while since my last post, I’ve had a pretty busy couple of weeks with lots going on around here.  We have a couple of plans for this weekend, but otherwise it’s going to be a bit of taking it easy and hanging out with friends. 

My mom requested  a set of cards from me that she could give to a friend of hers as a birthday gift.  I bought a pack of K&Company “Poppy Seed” paper from Wal-Mart and knew that I wanted to use this paper to make a coordinating set.  I LOVE this paper – the colour combinations are fantastic, it’s 2 sided, there’s some glitter sheets and textured sheets, and there’s a bunch of papers with big designs (it is a 12x12 pack), that can be used alone as the focal image on the front of a card.  Case in point is this one here:

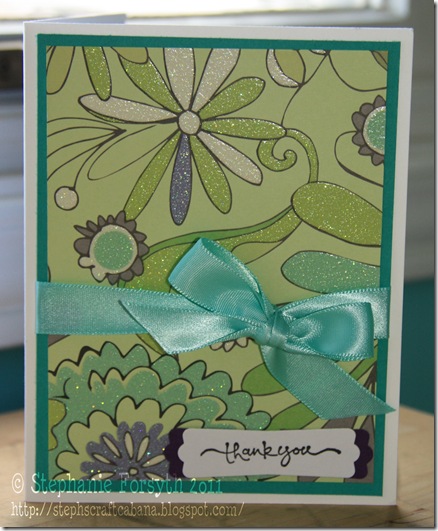
Thank You

The image was trimmed to 5x3.75”, and matted to a Bermuda Bay (retired Stampin’ Up) piece of cardstock measuring 5.25x4”.  The ribbon is from Wal Mart, and the sentiment is one from Stampin’ Up – I believe it’s in the Warm Words set.  I punched it out with the modern label punch.  I punched a piece of purple cardstock with the modern label punch, and cut it in half, mounting that to the back of the sentiment to make it stick out on the ends like that.  It was such a simple card, and so easy to put together, but I love the patterned paper.  I think I’m going to use the rest of it to make a set of thank you cards for myself. 

I will post more cards from this set over the next little while.  I hope you enjoy!

Have a great day!

Steph